Assembly
The power supply was the first thing to be paced into the case.
No problems were encountered. The power drops were temporarily run out the
back of the case, to keep them out of the way while the rest of the components
were installed.
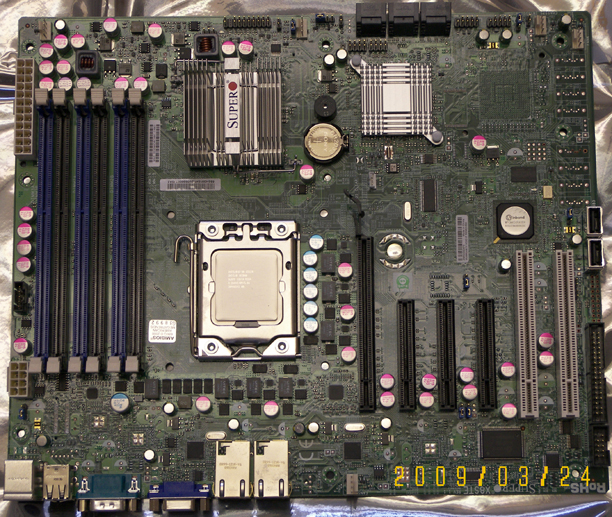
The CPU and heatsink were placed on the motherboard
prior to installation into the case. The heatsink had to be mounted before
the motherboard could be installed in the case, as it has a backplate (part
of the bolt-through kit).
It's time to add the heatsink.
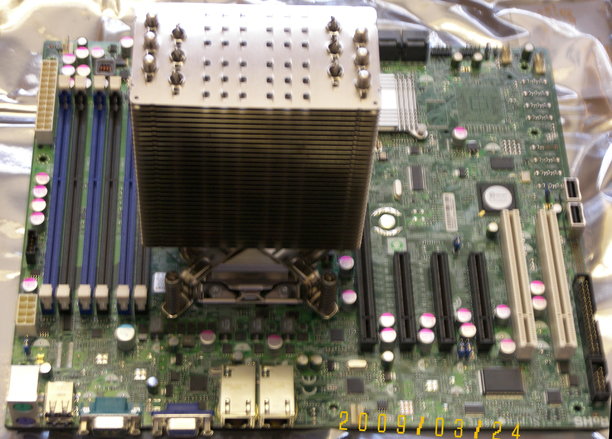
In this orientation, the heatsink is a bit too close to the
16-lane slot, and to the first memory slot. This also shows that the Scythe
Ninja (similar in width to the Thermalright HR-01 Plus) would
be too tight of a fit, as would other heatsinks of a similar size (which includes
all of the heatsinks with a 120MM downward-facing fan).
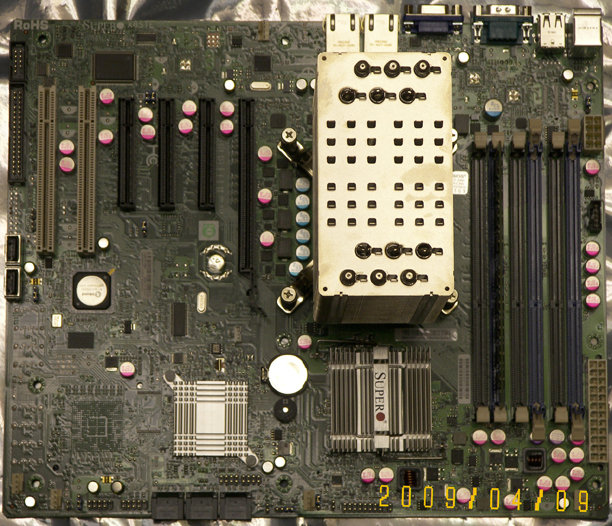
We rotated the heatsink, and there's now quite a bit
of space around it. Memory is easy to access, and the video card is unobstructed.
After the motherboard has been installed in the case, it is
necessary to block the openings above the expansion card slots. This space
was opened up (perforated) by Antec. In a case with more air being blown in
than out, this works fine. Unfortunately, it's difficult to achieve that state
with the Solo. Leaving these openings unchanged allows heated exhaust
air from the back of the system to be drawn back in. Blocking these openings
(I used some packing tape) causes the additional air to come in from the front
of the case.
|